Enquire Now
Call: 0412 290 959

Get In Touch for a Tailor Made Package

    Hydrographics

    Hydrographics, also known as water transfer printing, hydro dipping, or immersion printing, is a unique and fascinating process used to apply intricate patterns and designs to the surface of three-dimensional objects, including automotive parts, electronic casings, sporting goods, and more. Here's a step-by-step overview of the hydrographics process:

    Step 1
    Surface Preparation
    The first and crucial step in hydrographics is preparing the object's surface to ensure proper adhesion of the print. The item is thoroughly cleaned and degreased to remove any dirt, oils, or contaminants that could interfere with the printing process.
    Step 2
    Base Coat Application
    After cleaning, a base coat of paint is applied to the object's surface. The base coat color acts as a background for the hydrographic print and can significantly affect the final appearance. Common base colors include white, black, or other neutral tones that complement the desired pattern.
    Step 3
    Hydrographic Film Preparation
    The hydrographic film, which contains the printed pattern, is carefully placed on the surface of a water tank or container. The film is made of a water-soluble material and floats on the water's surface.
    Step 4
    Activator Application
    A chemical activator is sprayed evenly over the surface of the floating hydrographic film. The activator dissolves the film, allowing the ink pattern to remain on the water's surface and become ready for transfer.
    Step 5
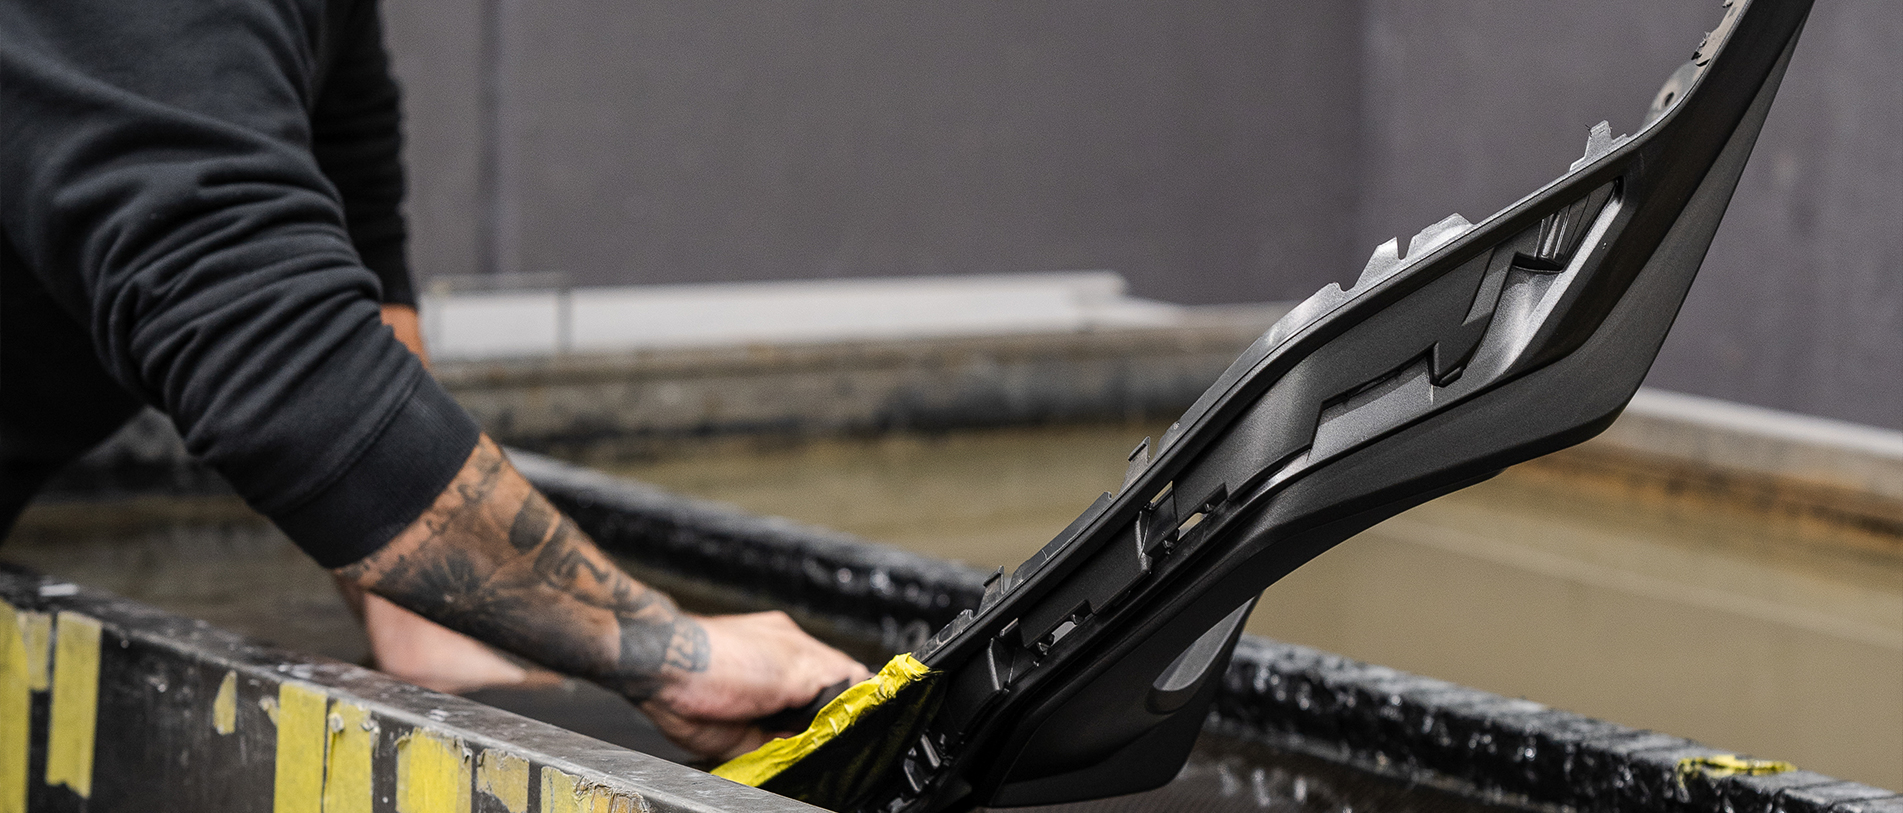
    Dipping Process
    With the film and activator prepared, the object is carefully dipped into the water tank, passing through the floating ink pattern. The water pressure helps ensure that the ink adheres evenly to the object's surface. The item is fully submerged and then withdrawn from the water at a consistent speed to achieve a seamless and...
    Step 6
    Rinsing and Drying
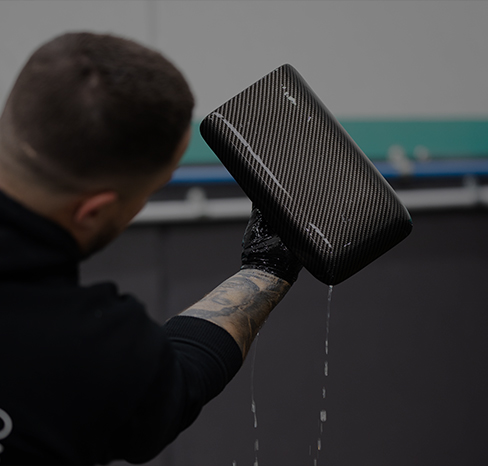
    After the dipping process, the item is rinsed to remove any residual film or activator. Once rinsed, it is left to dry completely
    Step 7
    Clear Coat Application
    For added protection and durability, a clear coat is applied over the hydrographic print. The clear coat not only enhances the appearance but also safeguards the design from scratches, fading, and other wear and tear.
    Step 8
    Final Finishing
    After the clear coat has dried, any additional finishing touches, such as polishing or buffing, may be applied to achieve the desired level of gloss and smoothness.
    Step 9
    Quality Check and Packaging
    The finished product undergoes a quality inspection to ensure it meets the desired standards. Once approved, the item is carefully packaged and made ready for delivery or installation.

    Hydrographics offer a versatile and creative method to customize objects, providing an array of patterns and designs, from realistic wood grain and carbon fiber to vibrant geometrics and artistic illustrations. The process allows for individualized and eye-catching creations, making it a popular choice for automotive enthusiasts, decorators, and manufacturers seeking to elevate the appearance of their products.

    Sydney's Leading Customisation Shop | Est. 2013

    ENQUIRE WITH OUR TEAM

    Want to see how our bespoke services can transform your vehicle? Book a call with us to discuss your ideas as we walk you through the possibilities.

    We only work with passionate car owners who are looking for something truly exceptional.

    You’re just one conversation away from making your car a true work of art. Let’s talk!